How to Repair Heat-Damaged Hair: A Step-by-Step Haircare Routine

This post may contain affiliate links, which means I'll receive a commission if you purchase through the link at no extra cost to you. Please read the full disclosure here.
We’ve all been there—caught up in the daily routine of blow-drying, straightening, or curling, only to notice one day that our hair isn’t as vibrant as it used to be. Heat styling can work wonders for creating the perfect look, but over time, it can also take a serious toll on your hair.
If you’re dealing with dry, brittle strands, split ends, or frizz that just won’t quit, you might be facing the dreaded reality of heat damage.
But don’t worry—you’re not alone, and more importantly, you’re not stuck with heat-damaged hair forever. As a professional hairstylist, I’ve seen and treated countless cases of heat damage, and I’m here to share my expert advice on how to get your hair healthy again.
The good news is that with the right approach, you can start to repair and rejuvenate your hair, bringing it back to its healthy, shiny self.
In this guide, I’ll walk you through a step-by-step routine to restore your heat-damaged hair, and it all begins with recognizing the signs that your hair is in distress.
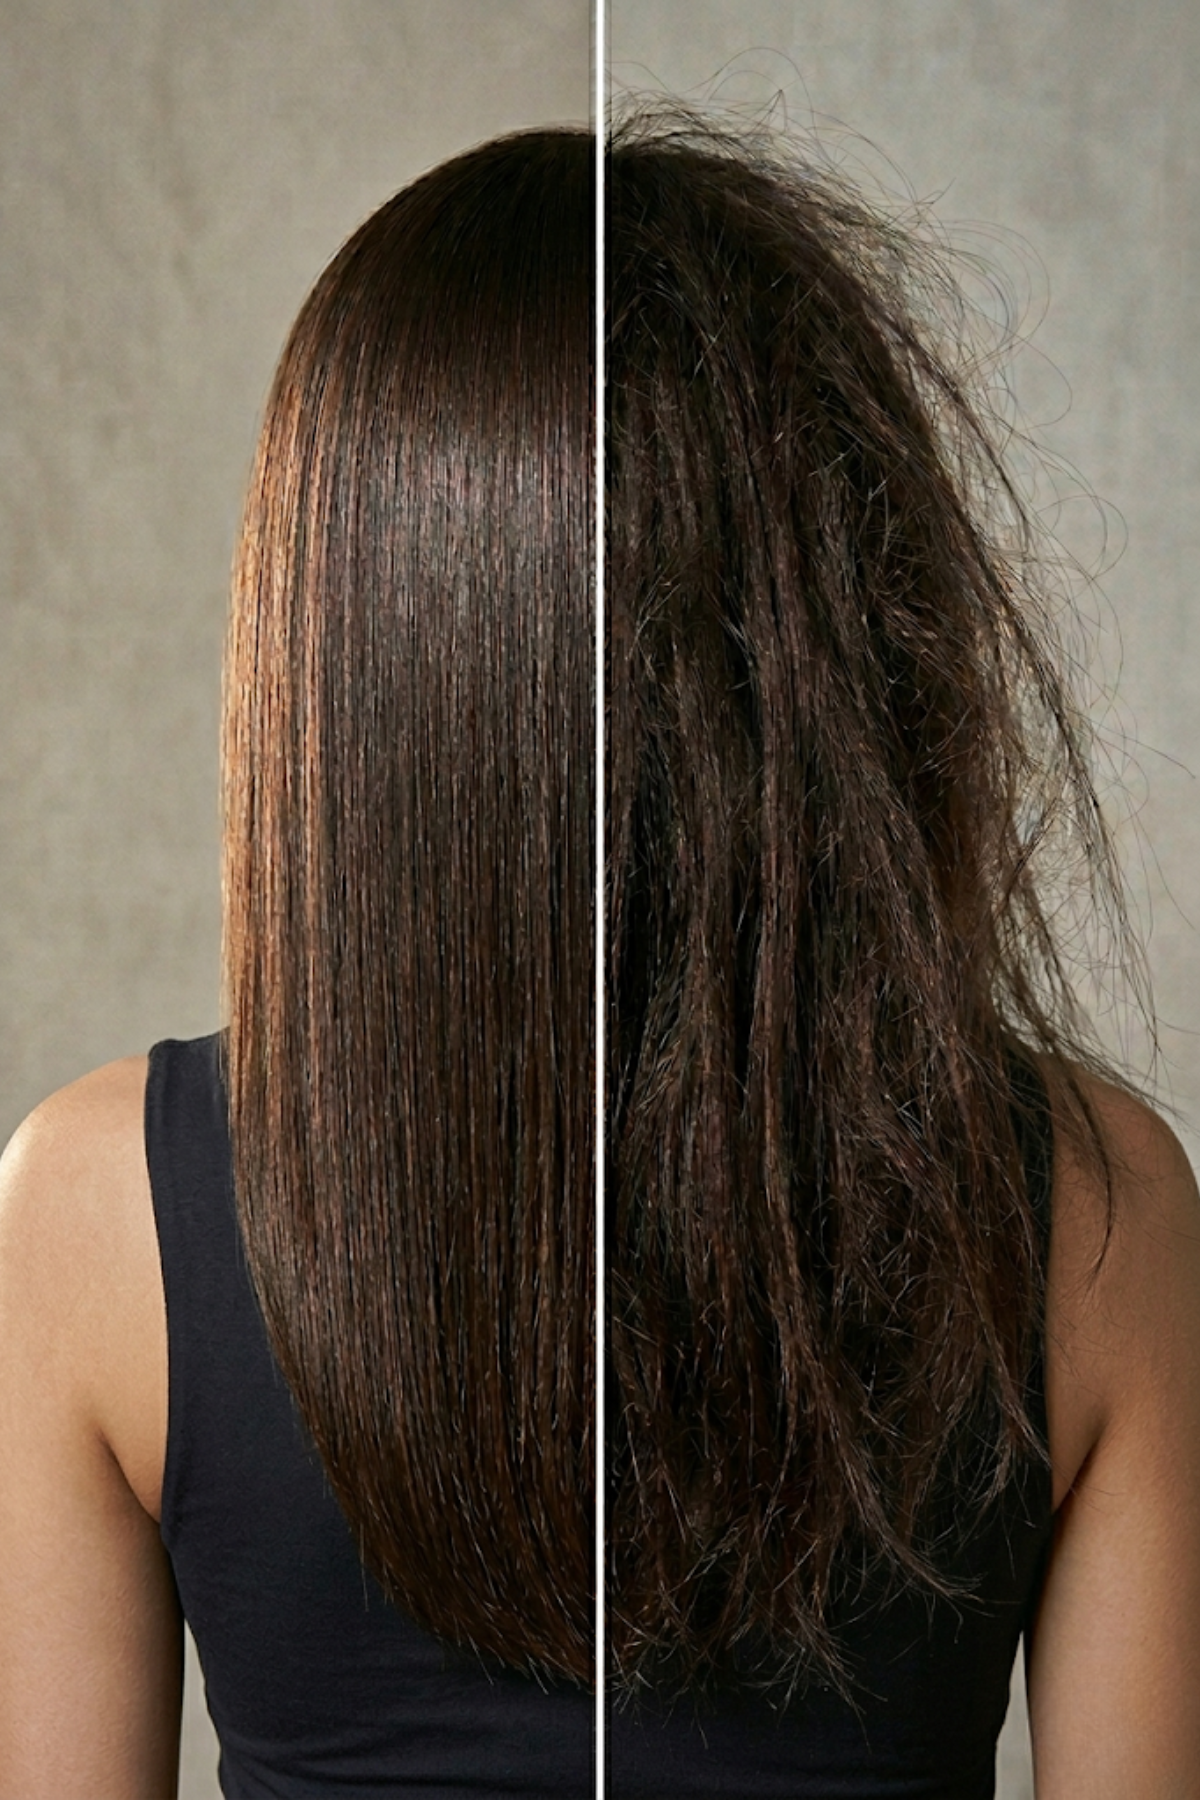
Signs of Heat Damage
Heat damage can sneak up on you, especially if you're someone who loves to style your hair frequently. My clients and friends alway ask how can you tell if your hair is heat damaged. Here are a few tell-tale signs that I always tell my clients to look out for:
Dryness and Brittleness:
If your hair feels like straw or snaps off with the slightest tug, it's a clear sign that the heat has sapped away its moisture. Healthy hair should have some elasticity and shine, but heat-damaged hair often looks dull and feels rough to the touch.

Split Ends and Breakage:
Split ends are like little red flags waving at the tips of your hair. If you're noticing more than usual, or worse—if those splits are traveling up the hair shaft—it’s time to take action. Breakage is another major indicator; if you find your brush full of tiny broken pieces of hair, heat damage could be the culprit.

Loss of Curl Pattern:
For those with curls or waves, heat damage can be especially heartbreaking. If your curls are limp, frizzy, or just won’t hold their shape anymore, the heat might have disrupted the natural structure of your hair.
Increased Frizz:
While frizz can be caused by various factors, persistent frizz even after using your go-to products can signal that your hair’s cuticle is damaged and lifted, making it harder for your strands to lie flat.
Tangled Hair:
Heat damage can rough up the cuticle layer of your hair, making it more prone to tangling. If your hair is knotting up more often and feels like it's catching on itself, that's another sign of heat distress.

Importance Of Addressing It Promptly
Now, you might be tempted to shrug off these signs as "just bad hair days", but ignoring heat damage can lead to more serious issues down the line. When you don’t address heat damage promptly, your hair can continue to weaken, making it more vulnerable to breakage and even permanent damage.
As a hairstylist, I’ve seen too many clients come in thinking they can keep pushing through without making changes, only to end up with hair that needs a drastic chop to recover.
The key is to catch these signs early and start treating your hair with the care it deserves. It’s not just about aesthetics—when your hair is at its best, it’s easier to style, feels softer. So, let’s start recognizing the signs and commit to giving your hair the TLC it needs.
Step-by-Step Hair Care Routine for Heat-Damaged Hair
When it comes to repairing heat-damaged hair, consistency is key. Following a well-thought-out routine can make all the difference in restoring your hair’s strength, shine, and overall health. Here’s how to structure your weekly hair care regimen to nurture your locks back to life.
1. Shampooing
The foundation of any hair care routine starts with shampooing, but not just any shampoo will do—especially when you’re dealing with heat damage. It’s crucial to choose a shampoo that caters specifically to your scalp’s needs. Why? Because a healthy scalp is the root (literally!) of healthy hair.
Your scalp type determines how well your hair responds to products and treatments. Whether your scalp is oily, dry, or somewhere in between, the right shampoo can either make or break your hair care efforts.
Take my routine, for example. I have an oily-normal scalp, so I tend to reach for a shampoo like the R+Co Television Perfect Hair Shampoo. It’s lightweight and doesn’t weigh my hair down, keeping my scalp from getting greasy too quickly.
On the other hand, if you have a dry scalp, you might want to opt for something more hydrating and creamy—a shampoo that can replenish moisture without stripping your scalp of its natural oils.
The key is finding that balance: your shampoo should cleanse your scalp effectively without leaving it feeling tight or irritated. Pay attention to how your scalp feels after washing—this can give you clues about whether your shampoo is doing its job or not.

2. Conditioning
Once you’ve cleansed your scalp, it’s time to move on to conditioning. This step is particularly important for mid-lengths and ends, where heat damage tends to show up the most.
Your conditioner should be like a protective barrier for your hair, locking in moisture and nutrients while targeting specific issues like dryness or breakage. The right conditioner can help rebuild your hair's strength and prevent further damage.
Personally, my ends are more on the dry and damaged side, so I like using a conditioner that’s specifically targeted to help repair and nourish those areas. For instance, I lean towards conditioners that are rich in proteins and moisturizing ingredients, as they work wonders in restoring softness and resilience to my ends.
For you, the key is to assess what your mid-lengths and ends need the most. Are they dry? Do they break easily? Depending on your answers, choose a conditioner that addresses those specific concerns.

3. Leave-In Conditioner
After washing and conditioning, a leave-in conditioner is your next line of defense. It’s all about hydration and protection, ensuring your hair stays nourished throughout the day. They can help seal in moisture, smooth out frizz, and protect your hair from environmental stressors.
A great hydrating leave-in conditioner that I swear by is the ABC Leave-In Treatment by Redken. It’s lightweight, yet incredibly moisturizing, and it leaves my hair feeling soft and manageable without any greasy residue.
The trick with leave-in conditioners is finding one that complements your hair type—whether it’s thick, fine, curly, or straight—and using it consistently. It’s a small step that can make a big difference in how your hair looks and feels on a daily basis.
If you’re unsure which products are best for your damaged hair, check out my Haircare 101 Guide. This comprehensive e-book breaks down the essentials of hair care, offering product recommendations and tips based on your unique hair type and concerns. From rebuilding damaged strands to maintaining healthy hair, the guide has everything you need to get your hair back to its best.
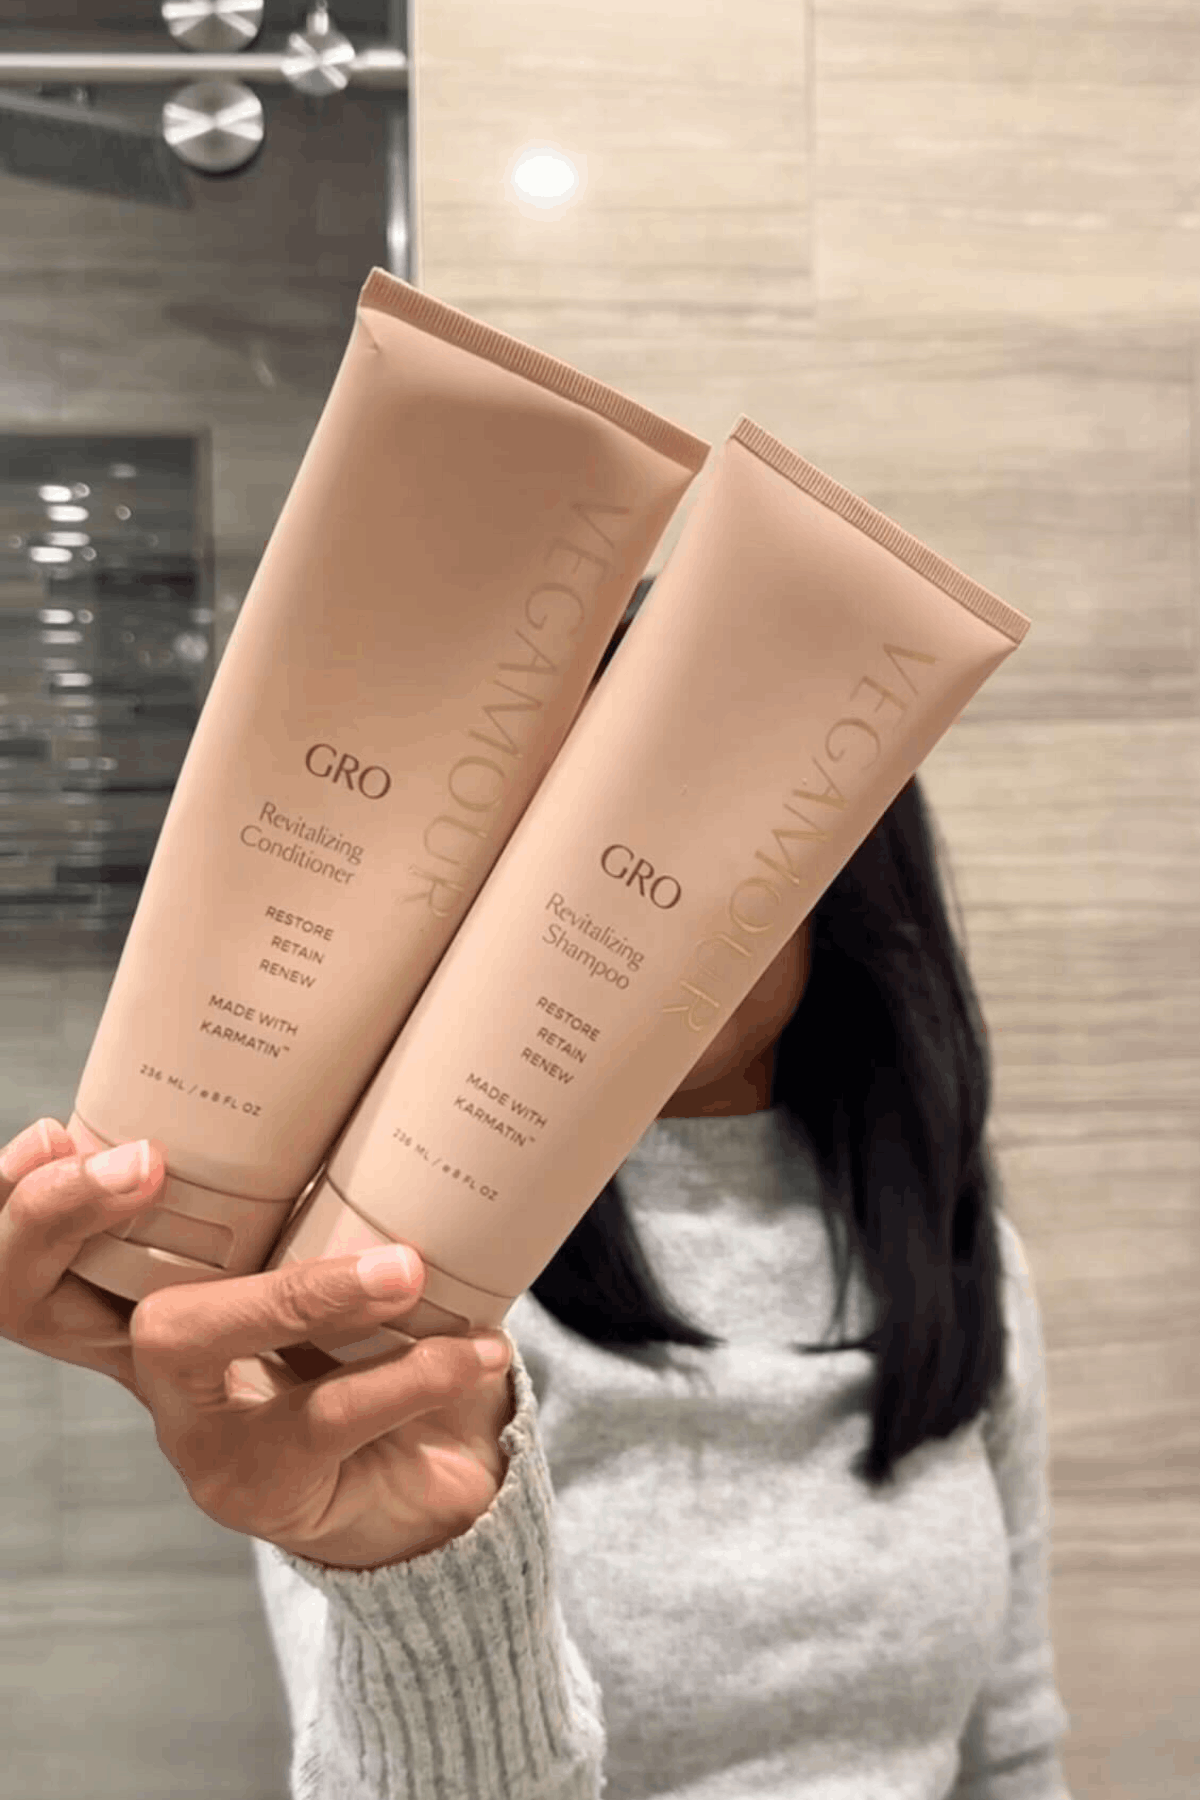
Damaged Hair Hairstylist Product Recommendations

Additional Tips for Repairing Heat-Damaged Hair
Beyond your regular hair care routine, there are a few additional strategies you can adopt to help repair and protect your heat-damaged hair. These small changes can have a big impact on your hair’s recovery process.
Reduce the Use of Hot Tools:
I know it’s tempting to reach for that flat iron or curling wand, but giving your hair a break from heat styling is essential. Try air-drying your hair or embracing your natural texture more often. If you must use heat, keep it on the lowest setting possible.
Use Heat Protectants:
When you do need to use hot tools, always apply a heat protectant first. Think of it as a shield that helps minimize the damage caused by high temperatures. It’s a quick step that can make a world of difference.
Get Regular Trims:
Trimming your hair every 6-8 weeks can help remove damaged ends and prevent split ends from traveling up the hair shaft. It might seem counterintuitive when you’re trying to grow your hair out, but regular trims actually promote healthier, longer hair in the long run.

Incorporate Nourishing Treatments and Masks:
Weekly or bi-weekly treatments are like a spa day for your hair. They can provide deep hydration and repair, helping to restore your hair’s elasticity and strength. Look for masks and treatments that focus on moisturizing and rebuilding the hair from within.
Remember, it’s all about consistency and being kind to your hair as it recovers.
FAQs
Can I still use heat styling tools while repairing my hair?
Absolutely, but with caution! While it's best to give your hair a break from heat styling as much as possible, I understand that sometimes you just can’t skip that blowout or straighten those stubborn strands. If you do need to use heat, make sure you’re doing it smartly. Always apply a heat protectant to shield your hair from further damage, and opt for the lowest heat setting that gets the job done. Remember, moderation is key—try to limit your use of hot tools to special occasions or space out their use to allow your hair to recover in between.
How long does it take to see improvement?
Patience is your best friend here. The time it takes to see improvement can vary depending on the extent of the damage and how diligently you follow your repair routine. Typically, you might start noticing small changes within a few weeks—like less breakage, more softness, and reduced frizz. However, for more significant results, it can take a couple of months or even longer. The most important thing is to stay consistent with your routine, trim away damaged ends regularly, and be gentle with your hair. Over time, with proper care, your hair will regain its strength and vitality.
Discover Your Hair’s True Potential with My E-Book
If you’ve been frustrated by dry, damaged, and brittle hair that just won’t respond to your efforts, it’s time for a change. My e-book, Hair Care 101, is designed to be that change—a transformative guide that helps you finally understand your hair and how to care for it properly.

This isn’t just another hair care guide; it’s a comprehensive formula developed from over a decade of my experience as a professional hairstylist. Inside, you’ll find easy-to-follow steps that will take you from confusion to confidence in your hair care routine.
By understanding your hair’s unique characteristics, you’ll be able to choose the right products and techniques to achieve the healthiest, shiniest hair you’ve ever had.
One of my clients, who struggled for years with dull, lifeless hair, has completely transformed her look by following the advice in this guide. She went from dealing with constant breakage and frizz to enjoying smooth, shiny hair that she’s proud to show off. The difference is clear, and her results speak for themselves.
Imagine having the knowledge to stop wasting money on products that don’t work and instead start seeing real, tangible improvements in your hair’s health. Hair Care 101 makes that possible, giving you the tools to care for your hair like a pro.
Ready to transform your hair? Get instant access to Hair Care 101: Discover Your Hair Needs now for just $11.99

Found this helpful? Pin it to your hair care board on Pinterest and save it for later!
Related Posts
Caring for heat-damaged hair requires dedication, but with the right routine, you can bring your hair back to life. Remember, consistency is key—stick to your new hair care regimen, and you'll start seeing improvements over time.
For more tips on maintaining healthy, beautiful hair, check out these related posts:
These posts dive deeper into specific aspects of hair care, offering additional advice that complements what you've learned here. By following these resources and committing to your routine, you’re well on your way to healthier, stronger hair.


Learn how to style a shag haircut at home with easy, hairstylist-approved methods for volume, texture, and defined layers that don’t fall flat.